How to customize WinPE image with registered KillDisk for use in a network PXE boot environment?
Note: To modify Windows PE image (WIM) you need to have Windows ADK installed.
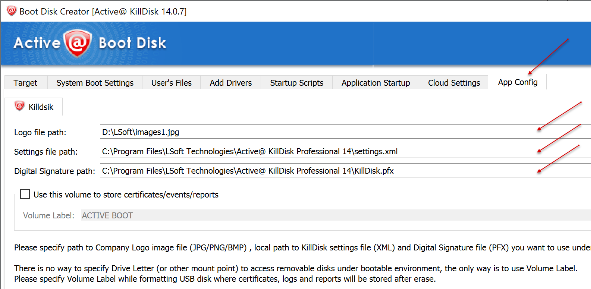
- Start the Boot Disk Creator form Windows Start menu and prepare a bootable media. For KillDisk settings fill in
the data on App Config page. Let's assume that the Boot Disk media has an F: letter in our environment.
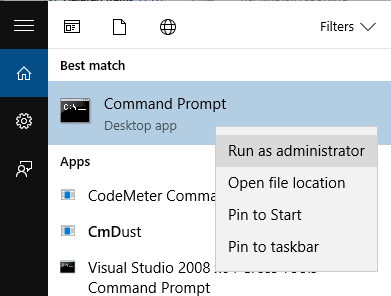
- Run Windows Command Prompt as an Administrator.
- Create an empty directory C:\MOUNT and mount BOOT.WIM file using the DISM tool:
Command: Dism /mount-image /imagefile:F:\sources\boot.wim /index:1 /mountdir:C:\mount
- Replace BOOTDISK.KEY in C:\MOUNT directory with BOOTDISK.KEY located at the root of Boot Disk media (F:\
BOOTDISK.KEY). This file is required and contains user's registration information.
- Copy your company logo file from Boot Disk media (located F:\_kd\images1.jpg) to C:\MOUNT directory.
- Open settings.xml file on Boot Disk media (F:\_kd\settings.xml) for edit using Notepad. Change path for your
company logo file to X:\
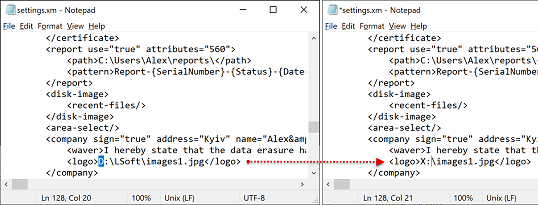
Copy modified settings.xml to C:\MOUNT\PROGRAM FILES\BOOTDISK\.
- Create folder BootDisk_Scripts in C:\MOUNT\PROGRAM FILES\BOOTDISK\. In any text editor (Notepad) create script
file and copy it to the newly created folder BootDisk_Scripts. For example:
cd x:\program files\bootdisk\
call killdisk.exe -em=0 -p=1 -v=11 -eh=5 -id -fp -bp
- Dismount the BOOT.WIM image and commit the changes you
applied:
Command: Dism /Unmount-Image /MountDir:C:\mount /commit
- Use prepared customized F:\SOURCES\BOOT.WIM in a network PXE boot environment.
For more information how to configure PXE boot server read Microsoft official documentation.

